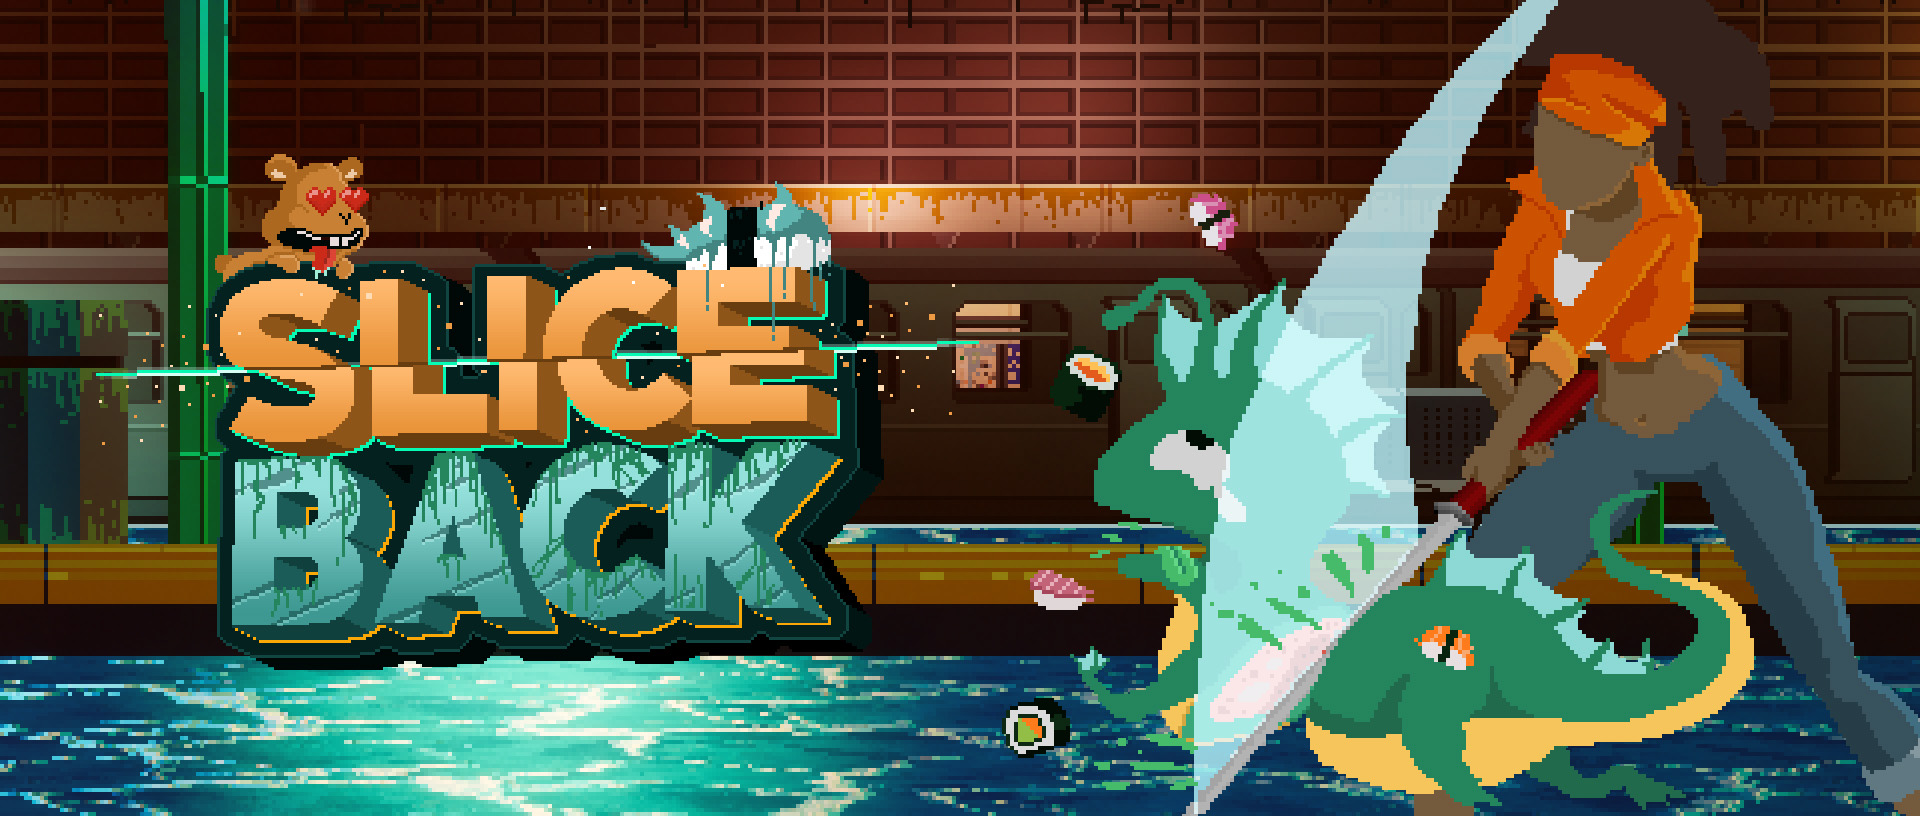
Slice Back
Behind the scenes: Pixel art in Unreal Engine 4
Welcome to ‘Behind the scenes’ a monthly approach to the development pipeline for Slice Back, in which we will do our best to explain how and why we are creating this game.
How did we get here?
We chose to follow several restrictions from the very beginning: the focus will be on agile development, quick iterations and flexible features. Prototype, test, iterate, polish and move to the next task. That approach quickly drove to a fluid, Blueprint-based development - after 6 years working with Unreal Engine we have become quite efficient working with this awesome tool and were able to release a playable demo in record time.
Working with Pixel Art in Unreal Engine
Our objective was to create a neo-pixel art style using our beloved Unreal Engine, however, this was not so straight forward. Paper2D, UE’s native 2D framework, is well-known to require engine modifications if you want to go a little deeper, and although the final results can be great (as seen in Cardboard Sword’s - The Siege and the Sandfox), modifying the engine was a no-go for us given our limited resources.
We started a new UE project, imported a few spritesheets and created our first scene with Paper2D. After testing lighting, camera, screen depth, parallax and workflow agility, the results were pretty satisfying, but we had some issues to consider.
· Performance was a bit tight and we really didn’t want to deal with optimization.
· Control: Just as we thought, Paper2D is flexible to a certain point using blueprint-only and we were especially concerned about finding limitations using Paper2D Flipbooks and Sprites.
Converting this content into gameplay
We tried to find a workflow to suit our needs, however, we ended up creating our own flipbooks following the same VFX principle: a plane with a custom material.
We created an anim-blueprint-like component and tested its performance and flexibility. We set a small test with multiple (equal and different) characters on screen both with Paper2D and our new system and found a significant increase in performance with ours - we were relieved about not having to deal with Paper2D’s code.
We decided to stick to Paper2D TileMap system as it was very agile to use, it let us iterate quickly, and we felt we wouldn’t need to expand the system further. Having now control and knowledge over the basic workflow, we started taking care of the secondary details before concluding that we had a functional art workflow.
As a sample, we implemented a tiny formula for our meshes so they could adapt their scale depending on depth. This allowed us to maintain the same approximate pixel scale while using depth and perspective cameras to control the parallax.

Art guidelines
The art approach for Slice Back was challenging. We were experienced creating traditional pixel-art, and implementing 3D art in Unreal Engine, but never tried both techniques on the same project. There are very few examples to compare, so we needed to test and iterate a lot of things.
However, we didn’t want the technique to influence art direction, since our main principles needed to be achievable on any pipeline, and won’t ever condition the feel of the game.
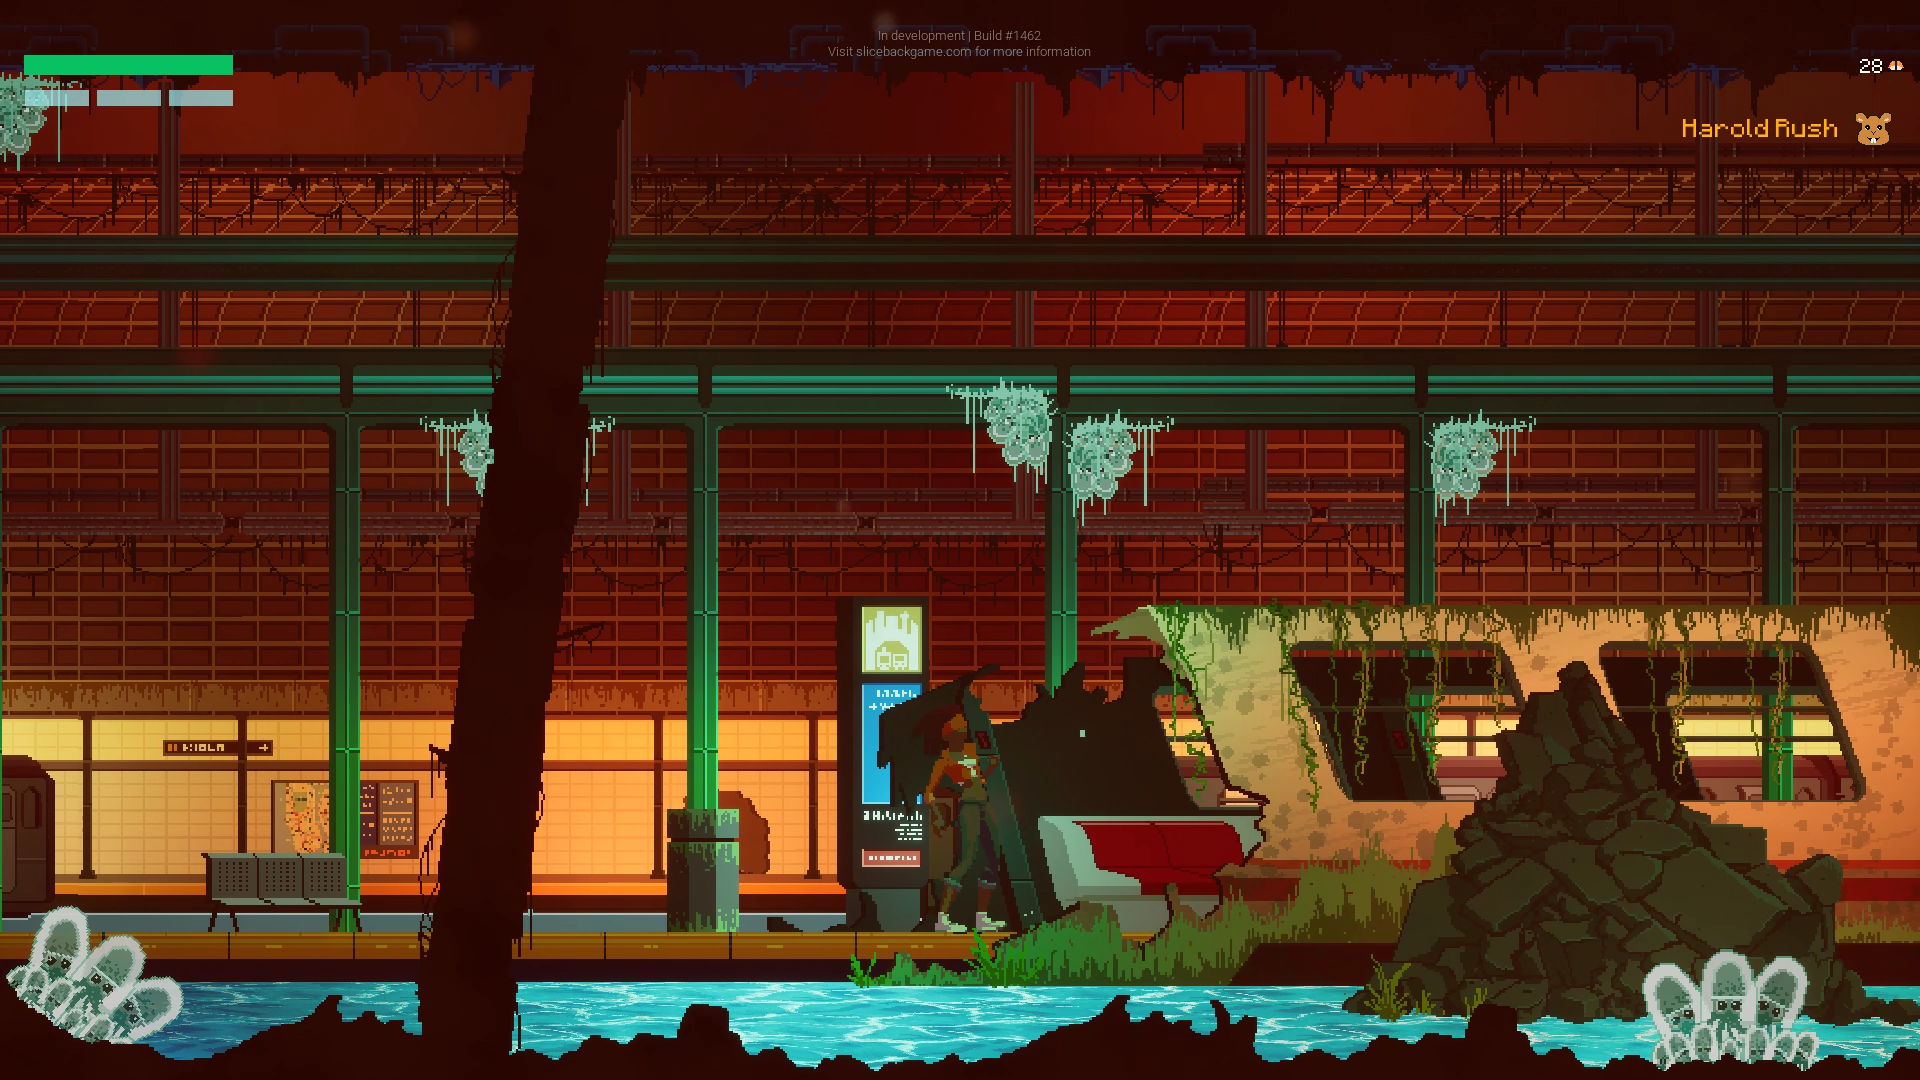
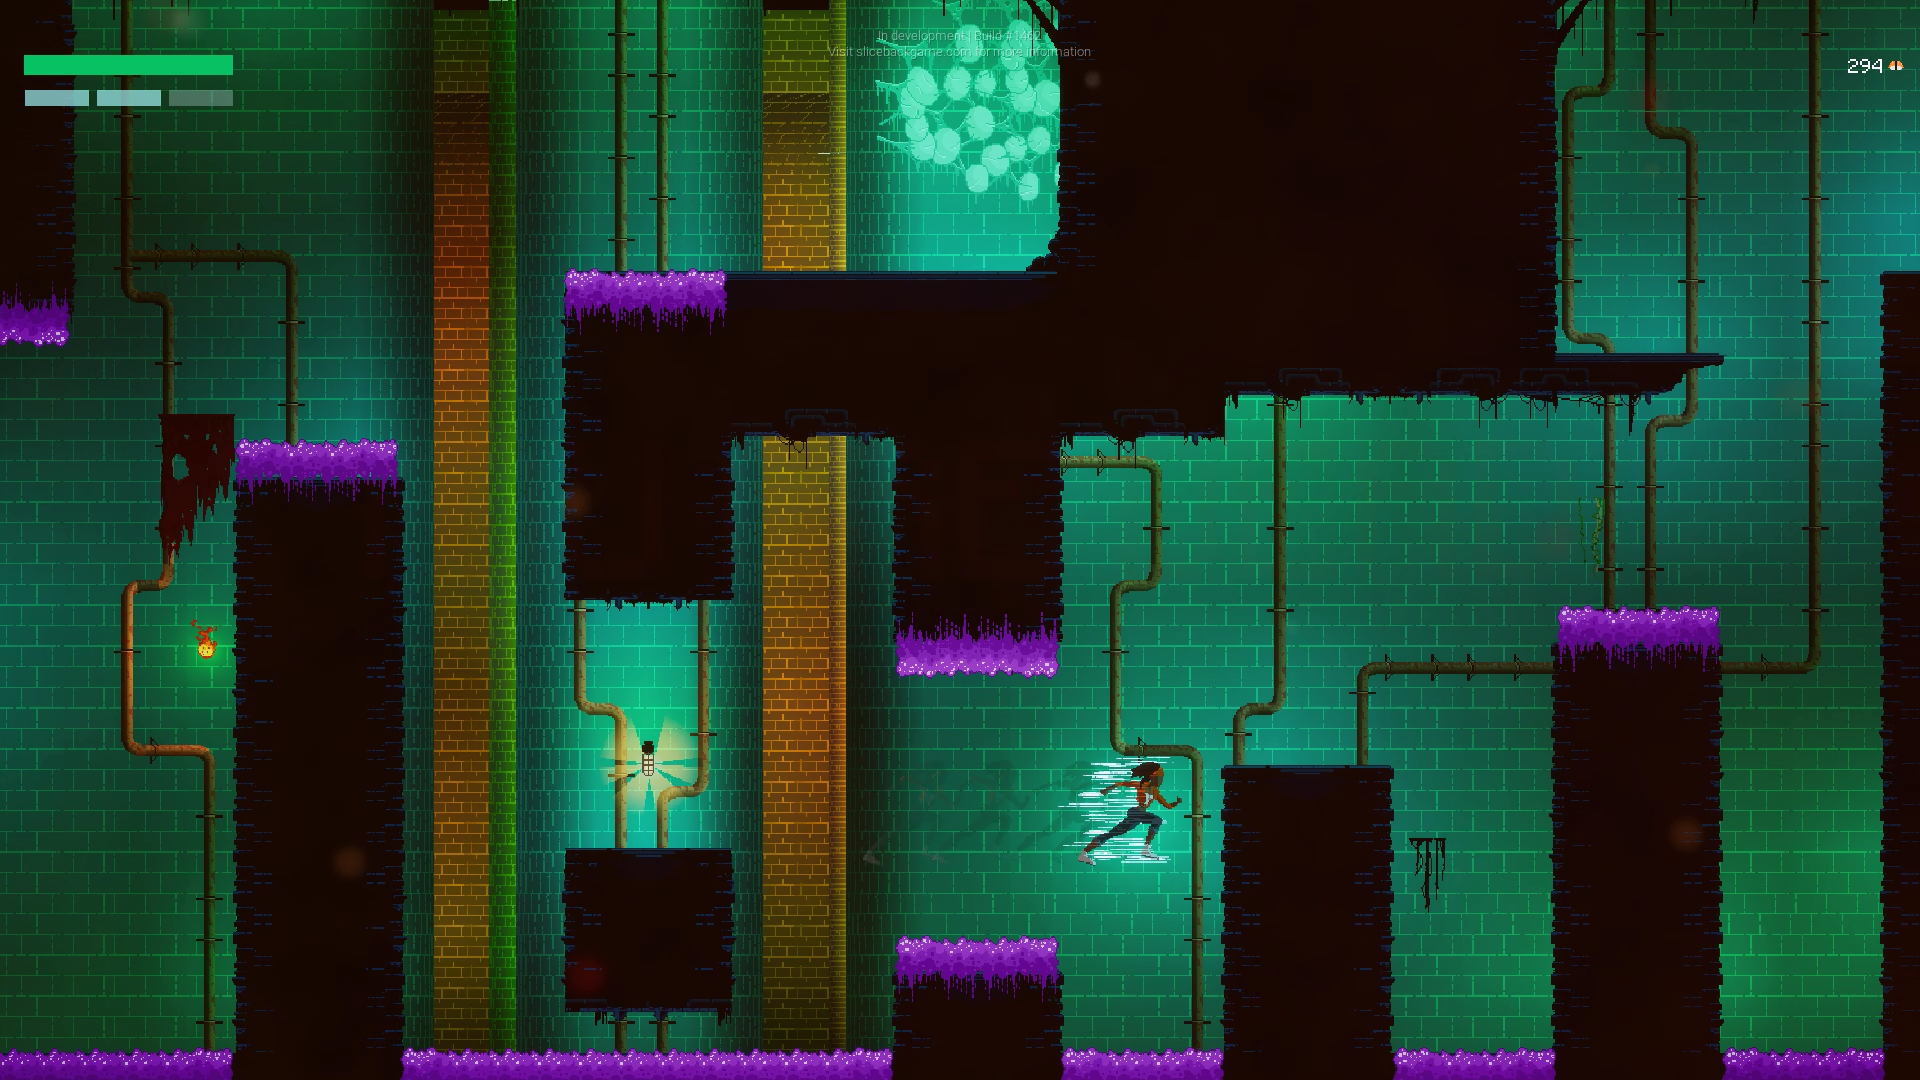
· Contrast: We made sure everything had a nice contrast, with highly saturated hue on both gameplay and background - dark tones on collisions and foreground. We would always try to maintain the warm/cold contrast unless we needed to break the rules in order to change the mood.
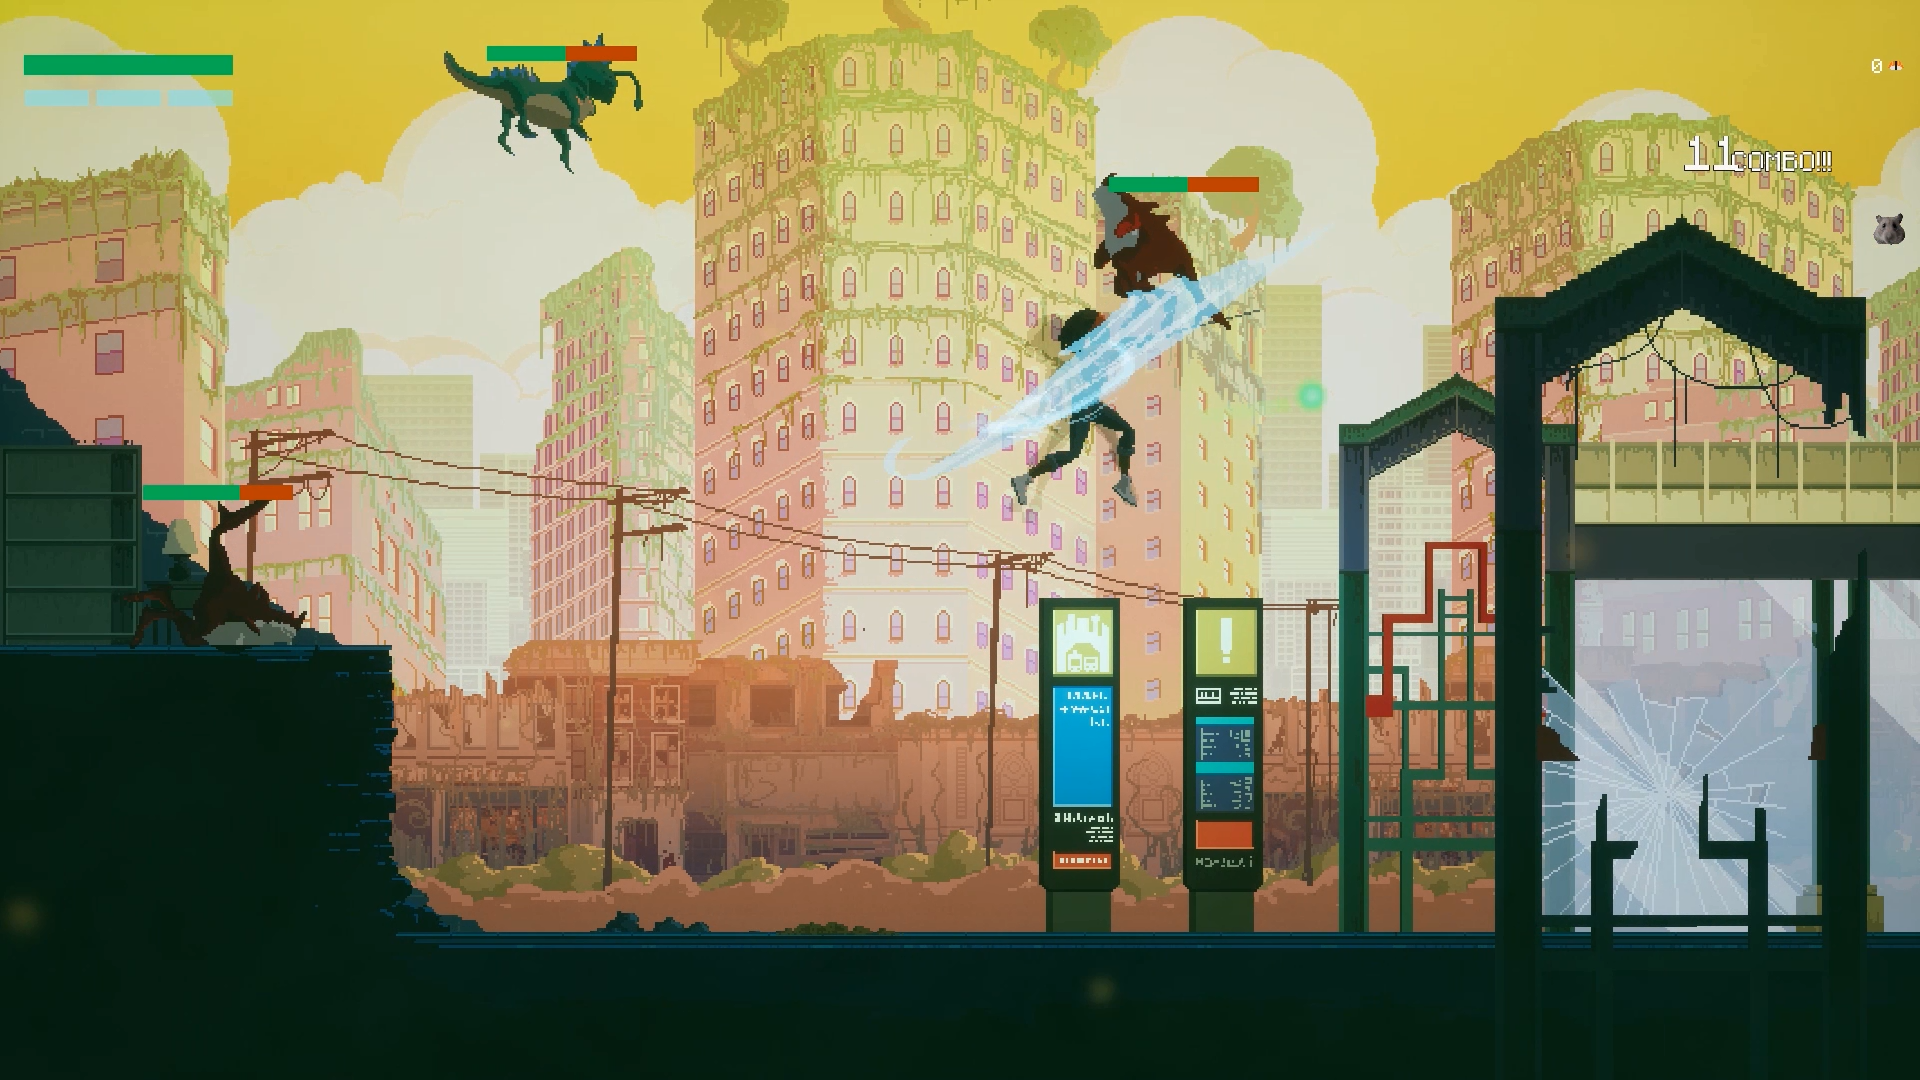
· Dynamic: Slice Back’s crazy aerial combat guarantees a lot of flying objects - both Groove and the aliens spend a lot of time bouncing around - but we wanted to take dynamism even further with particles and environment VFX. Moreover, we have always loved the traditional pixel-art ways to show movement in the background - with cascades, fires, etc - so we were really curious to see what possibilities we could discover mixing old techniques with the capabilities of a modern engine - real-time lighting, god-rays, smokes…
· Fun: Even if the story is based on a post-apocalyptic environment, everything from Groove’s animations to alien behaviour, must show a light and cheerful mood.
Pixel-art with normal maps in Unreal Engine
The question was: How to do all this and not to consume hundreds of hours manually painting normal maps, pixel to pixel? How do we set this principles in the engine? How is everything going to come together on screen when we add real-time lighting and how can we adjust values to respect the art direction without having to redraw the normal maps.
Testing and prototyping was the key - it always is. We ended up finding three different ways to do this.
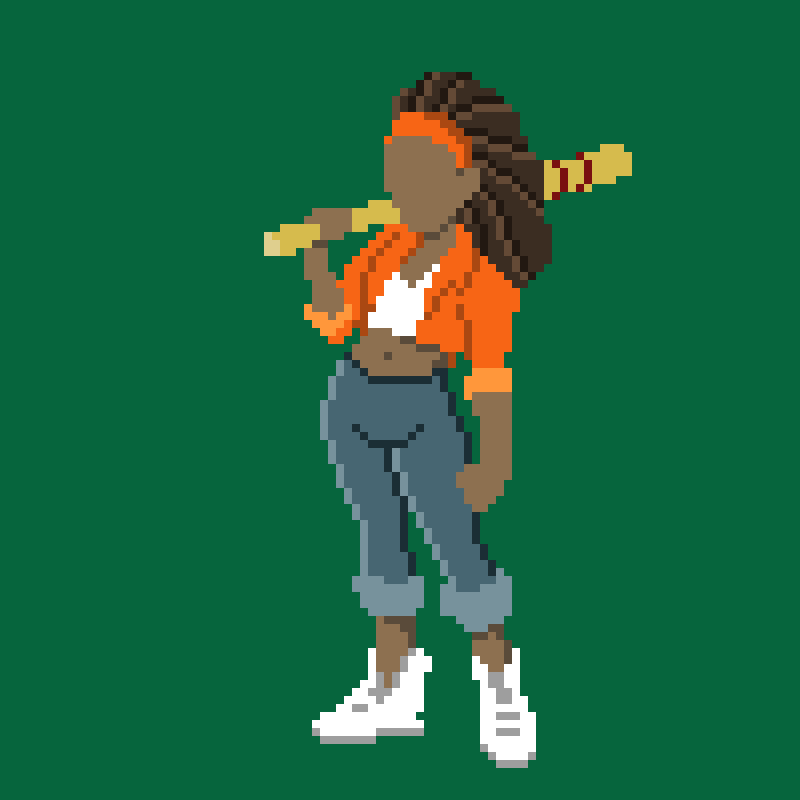
· Characters: Even the simpler pixel-art animation requires a lot of work if you want to manually add normal maps to every frame. Having only one artist in the team, meant this option was non-viable. After initial tests, we ended up embracing a 3D pipeline for characters, as brilliantly explained on this post by Motion Twin - the team behind Dead Cells.
There are some examples made with Unity but, as far as we know, there's barely no samples of this on UE4. After converting the 3D normal maps to pixel art the overall feel looked quite… realistic?. To achieve the desired look, we ended up creating a toon shader that affected only the actors we wanted and that reduced the number of different tones per shadow. We tuned the post-process merging self light with real-time lighting to achieve a balance between identity and realism.

Finding the right values for the post-process was a trial and error flow but we were quite happy with how it turned out. Traditional pixel-art VFX combined with some real-time lighting and modern features, turned out to be a success.
· TileMaps: To be able to create large maps and avoid the huge amount of work required to create environments, we decided to create most of our art using TileMaps. The benefit was that every entire map could fit a 1024x1024 texture. However, every single tile on that TileSet needed to have normal maps… that had to be drawn manually.
We created a custom material for TileSets with normal maps and tested it. Luckily enough, it is not that hard to draw normal maps if you try to reduce most of the shapes to the minimum expression. On some assets we even duplicated the layer in Photoshop and replaced each color by its normal map equivalent, and it worked quite well in the engine.


You can notice that those colors are not the ‘traditional’ ones used as normal maps… that’s because Unreal manages TileMaps with a different orientation to World that a 3D asset, so we just had to flip the color wheel and use the opposite colors of the spectrum. Once you get used to it, it is not that hard to do, although it was quite shocking at the beginning.
· Single Assets: There are several, unique assets that could not fit the TileSet for each map, and had to be drawn and exported to the engine separately, mainly because they were too big or they were consistent in all maps. In those cases we just created the assets in Photoshop and exported Diffuse and Normal on different pngs. We had to create different custom materials for each of the possible uses for these assets - whether they are static or animated, masked or transparent.
Those animated with normal maps were scary at first, but we found creative ways to draw and animate normal maps using Aseprite: just create and animate the asset on smaller pieces, duplicate the folder and replace the diffuse color by the normal map ones. It is important to keep animations as simple as possible or this process could take forever.
As a fun note, Unreal Engine does use the usual orientation for these assets so these normals were created with a different color palette*
*Seriously, once you get used to it, it is not that hard.
If you want to discuss any of the topics covered in this article feel free to join our discord!
https://discord.gg/eUpdNvd
If you want to experiment by yourself the outcome of our pipeline you can try our free demo on itch.io.
https://atomic-kraken.itch.io/slice-back
And finally, if you want to make a donation, wishlist us on steam :)
https://store.steampowered.com/app/1139210/SLICE_BACK/
Comments
Log in with itch.io to leave a comment.
no Mac version ?